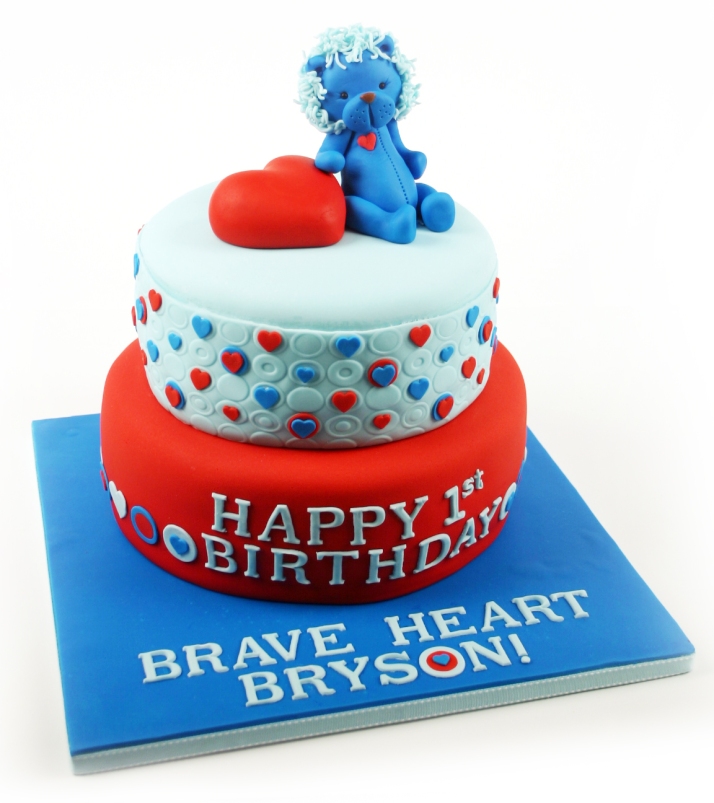
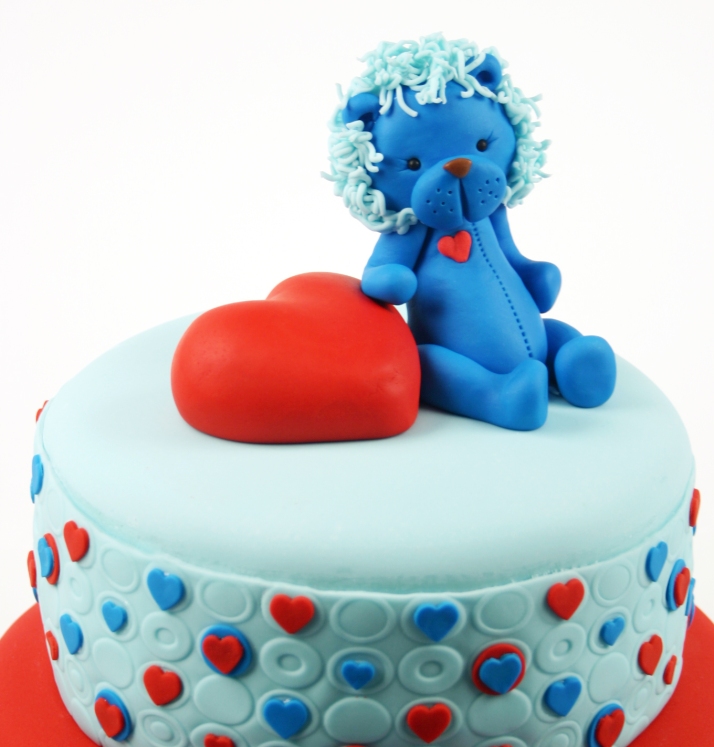
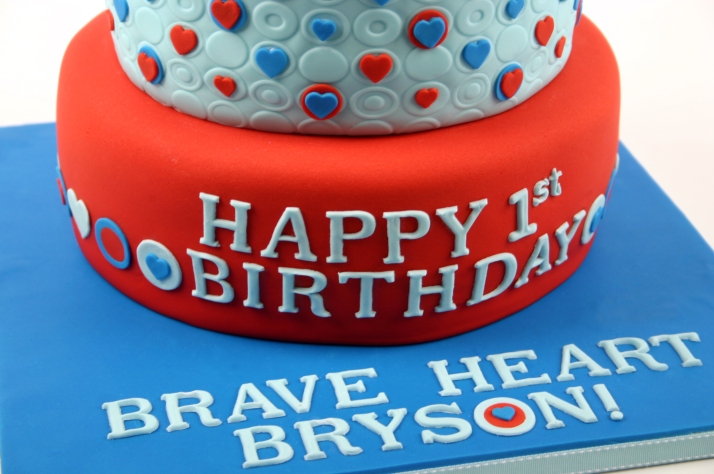
I had the pleasure of creating my third Icing Smiles cake for a sweet little guy who was celebrating his first birthday. His nick name is Brave Heart Bryson, so the family wanted lots of hearts. My assistants, Theresa and Sarah helped create this cake. I hope Bryson and his family enjoyed his first birthday cake as much as we enjoyed making it for him!
Archives
Woodland Friends Cupcakes
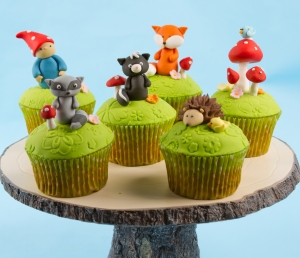
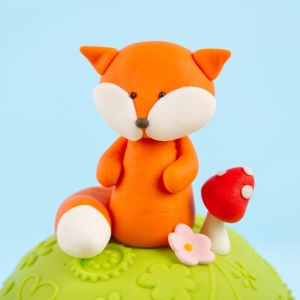
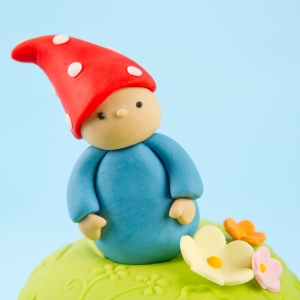
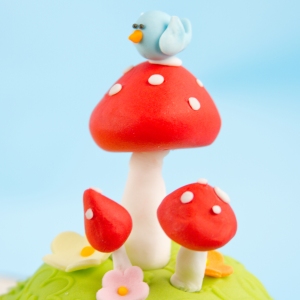
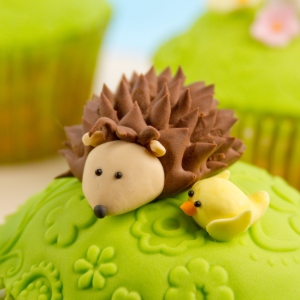
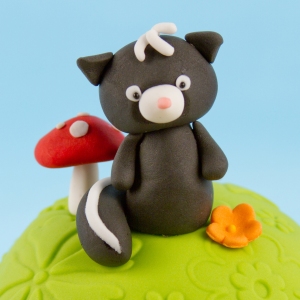
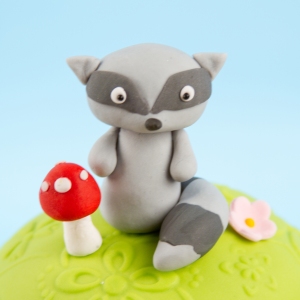
The forest and the adorable critters that habitat the forest were the inspiration for these cupcakes. The cupcakes were made for an upcoming texture mat set that will be available in November (the flower fun mat is featured). I love hand modeling figures and decided to create super easy figures for these cupcakes. Each character took less than 10 minutes to create. The flowers used were PME ready-to-go small and medium flowers. I love to keep ready made flowers on hand when I need just a few flowers here and there.
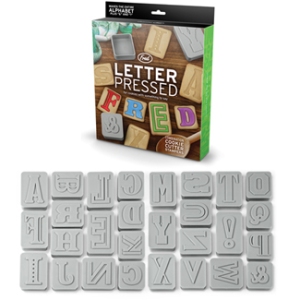
FRED and FRIENDS letter and number cutter sets
I’m loving the letter and number pressed sets from Fred and Friends. I’ve used them for cookies and for letter and number accents on cakes. You can buy the sets here.
End of Summer Hawaiian Bash
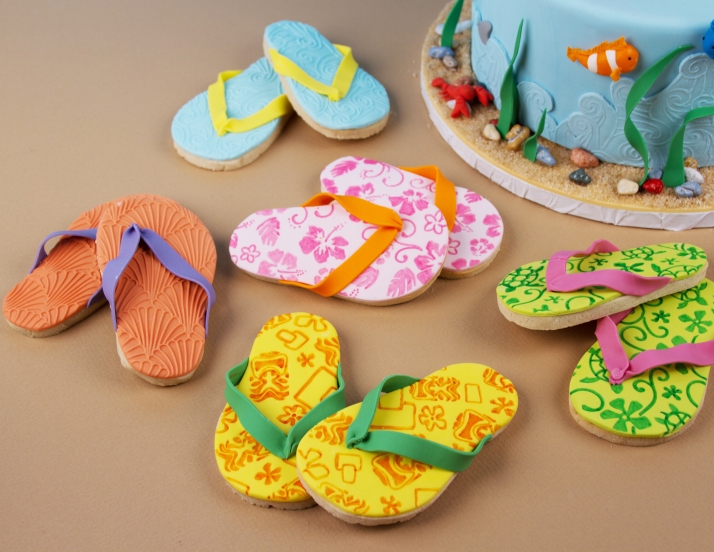
I can’t believe it’s nearly the end of summer. My kids start school in about two weeks! Here are some projects made for celebrating summer with a Hawaiian Luau. The cookies, cake, and cupcakes were all made using rolled fondant and textured using the Hawaiian texture mat set.
I can’t take credit for these adorable coconut drink cakes. Mindy, my co-worker made these.
Grease-themed Icing Smiles Cake
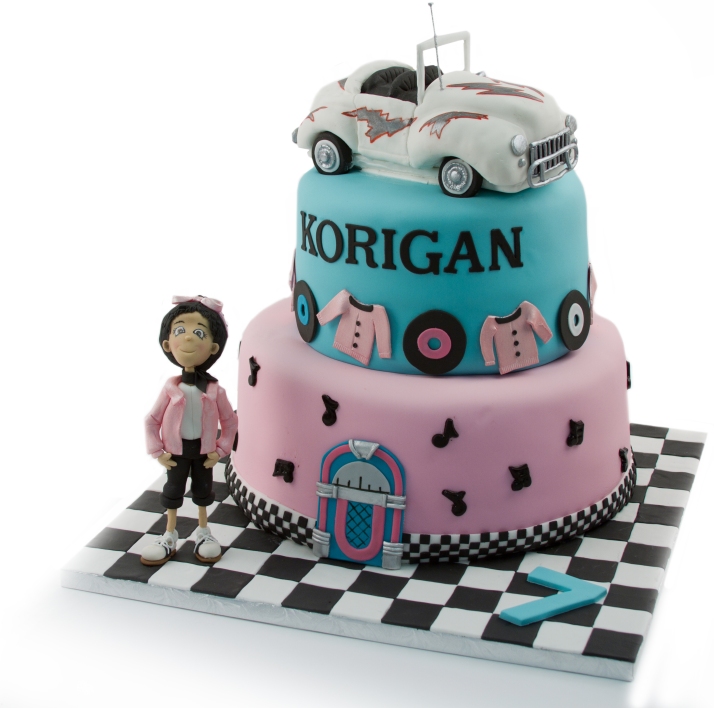
I was thrilled to be asked to complete my second Icing Smiles cake. This cake was for a beautiful little 7-year old girl who loves the movie Grease. I can’t take all the credit for the cake though! Theresa, one of my assistants, made the awesome car on the top, while Sarah, another assistant, made all the little jackets, records, and the jukebox. The two of them also worked on the tedious border around the bottom tier! We all had fun making the cake and hope that Korigan had a fantastic party!
Flying High, Airplane Birthday Party Treats
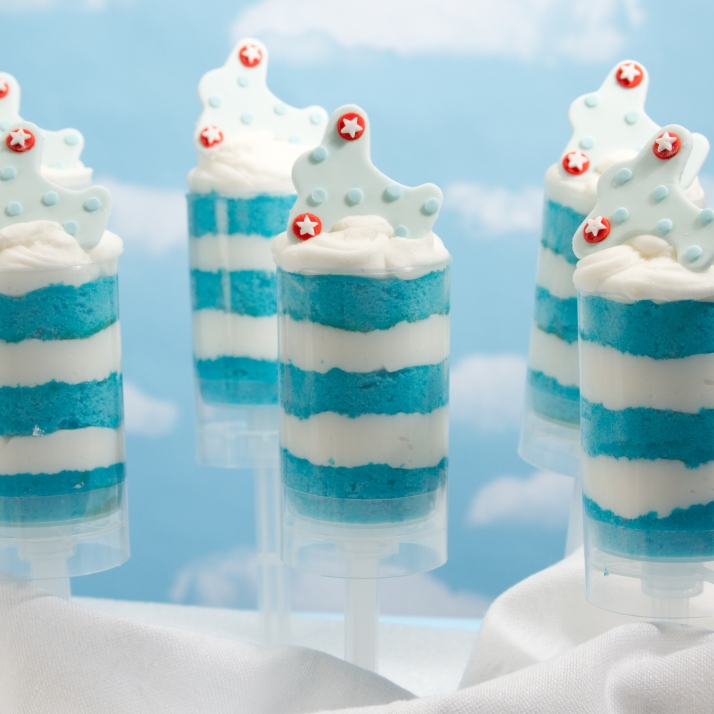
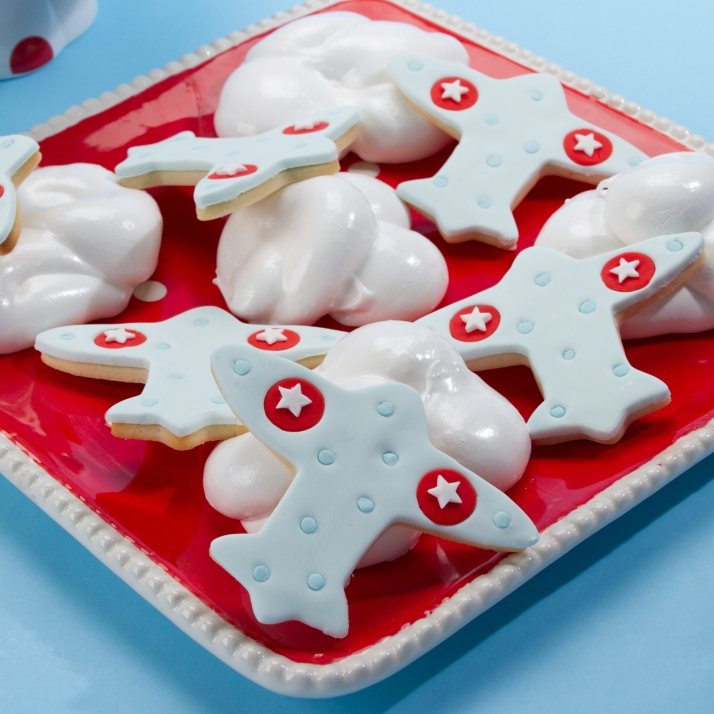
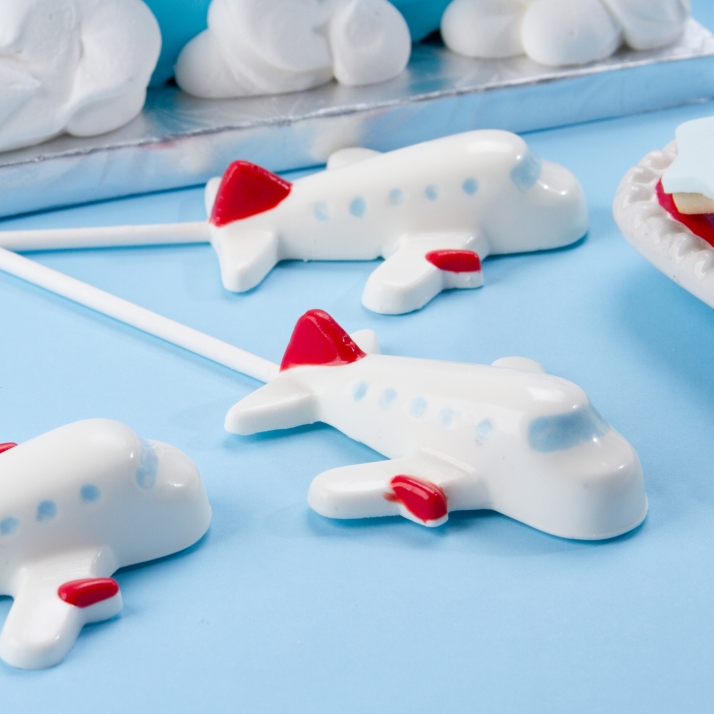
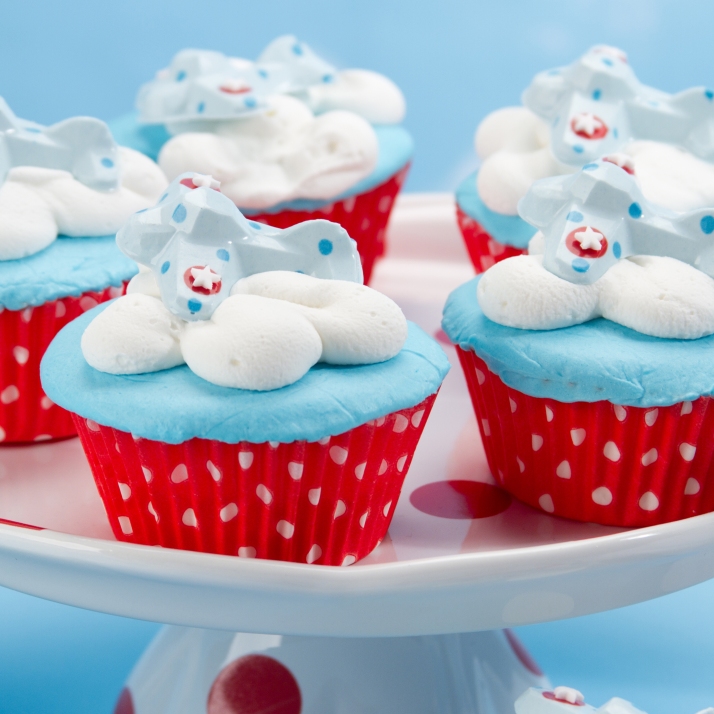
These little airplane treats are all simple projects using polka dots and red, white and shades of blue.
Visit www.shopcountrykitchen.com for instructions creating these airplane treats.
Sneak peek- Cupcake and Cookie Texture Sets
After many long months of waiting, I finally have the Cupcake and Cookie Texture tops almost ready to go! By next week I will have three of the six sets ready to sell. The following are the sets that will be available:
Geometric
Scroll
Whimsy Blooms
Floral
Christmas
Winter
Samples using the Geometric Cupcake and Cookie Texture Top Set:
About the Texture Sets:
The texture sheets are made of a lightweight clear plastic. Either side of the mat can be used. One side will give a raised impression, while the other will give a recessed impression. Each set comes with three mats. Each mat has a design that is repeated four times. Below is a sample of the geometric set.
Instructions using the cupcake texture sheets:
Bake and cool cupcake. Generously ice cupcake with your favorite cupcake icing. Lightly spray texture mat with a cooking spray. Wipe excess grease with a paper towel. Roll rolled fondant to approximately 1/16” thickness. Place the smooth, rolled side of the fondant face down on the texture mat. Place the rolling pin on one end of the fondant with the mat underneath. Firmly roll over the fondant, rolling to the opposite end. Do not double roll. Lift the mat and the fondant. Flip over the mat so the fondant is on the bottom and the mat is on top. Peel back the mat. Cut fondant using a circle cutter from Autumn Carpenter Cupcake Top Fondant Cutters. Place textured fondant circle on top of the iced cupcake. If icing has crusted, brush a thin layer of piping gel onto the icing or slightly dampen icing with a small amount of water from a squeeze bottle to adhere the fondant circle.
Coordinating Cupcake Top Fondant Cutters:
The diameter of baked and iced cupcakes may vary according to recipe, amount of batter, and amount of icing used. Choose a cutter sized to completely cover the top of the iced cupcake. Use the texture sets in conjunction with my Cupcake Top Fondant Cutters. The cutter set contains 3 stainless steel cutters, 2¾”, 3” & 3¼” for standard size cupcakes.
Jay Lego Ninjago Cake
I am so excited to have created my first cake for Icing Smiles. Icing Smiles is an awesome nonprofit organization that provides custom celebration cakes to families impacted by the critical illness of a child. This cake was created for Liam, a sibling to a critically ill child. If you are a cake decorator, consider sharing your talent with Icing Smiles! The decorators who are creating cakes are incredibly talented. The site shares priceless pictures of some of the kids with their cakes.
I certainly can’t take credit for coming up with the concept of this cake. I was inspired by a cake created by scubabaker on Cakecentral.org Mine doesn’t hold a candle to hers, but I still was happy with how Jay came out. The cake was made with 3, 7″ single layers. The top layer was a round sphere. The cake is iced in yellow buttercream then covered in blue rolled fondant. The board is covered with green rolled fondant and small circles were cut using tip #10. The letters are hand molded to match the weapons that come with the Lego Ninjago toys
Barnyard Farm Birthday party theme
I’ve always loved cute animals, especially sweet little farm animals. When ever I am in the mood to create animals, I instantly seem to think that chubby pigs, cuddly lambs, and sweet little chicks are the way to go. The cakes, cookies and cupcakes above are some farm creations I have made in the past. Complete instructions for these projects can be found on Country Kitchen SweetArt’s website.
Simon’s Construction Birthday Party Cake
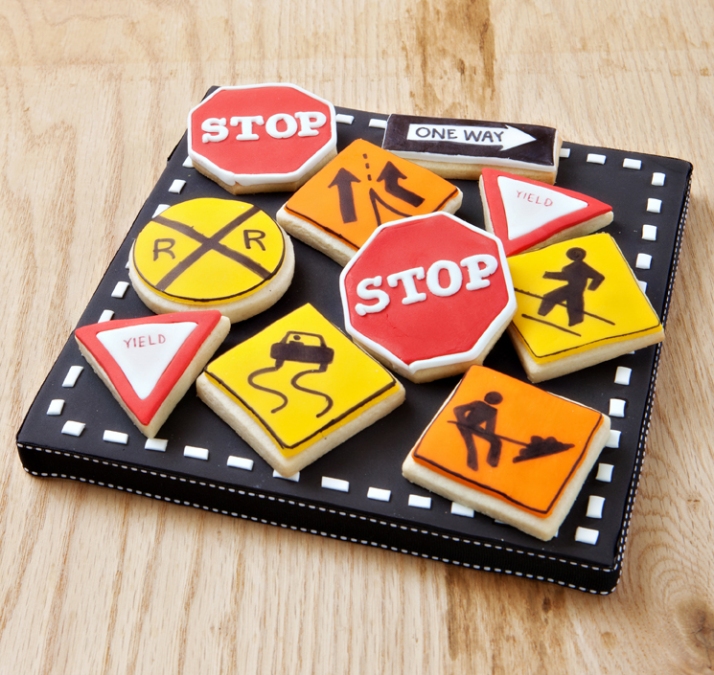
This cake is a cake featured in the gallery section of my book, Complete Photo Guide to Cake Decorating. I also created some cookies to coordinate. Simon (my son), now wants this cake for his birthday. He’s never been “into” construction toys, but I guess since it has his name on, he thinks it should be the cake for his birthday! The cake board is covered with red fondant and textured with my brick texture mat. The bottom tier has wood panels created with a wood texture mat and rolled fondant. The top tier is covered with yellow fondant and has cut strips using black fondant. The hard hat, hammer and orange cone was hand molded. The nails were cut using the opening of tip #6 and grey fondant. The fondant was painted with silver luster dust. “Simon” was cut using the cricut cake.
